How to Teach Your Athlete to Drive Their Arms

By Mark K., CSCS
Posted on November 27, 2024

The arms play a vital role in speed production. And failing to drive the arms will not only cost your athlete speed, but also energy.
Unfortunately, not many young athletes understand this. And when you tell them to move their arms when they run – without first taking them through Arm Mechanics Drills – it can make their run look ‘Awkward’ (running with their arms straight, becoming stiff, punching the air with their hands, etc.).
But before we even get there, I show them the importance of arm motion in generating speed. I’ve found that when they understand ‘why’, they’re more likely to take the drills seriously.
How do I show young athletes the importance of Arm Mechanics? By taking them through what I call the ‘Arm Mechanics – Teaching Drill’.
Arm Mechanics – Teaching Drill
Video is property of SportStrength and is used with permission.
Steps:
- Have your athlete move into an athletic stance (feet shoulder-width apart, knees and hips bent, slight forward lean, looking straight ahead) with their arms relaxed and extended at their sides.
- Instruct them to lightly jog in place. Have them do this for :05-:10 seconds.
- Next, while they are jogging in place, instruct your athlete to drive their arms from front to back as fast as they can (as if they’re sprinting). Have them do this for :05 seconds.
It should only take 1x through this drill for them to have the lightbulb moment they need to understand the impact arm mechanics have on overall speed.
From here, I’ll progress the athlete to one of two drills- The Beginner Arm Mechanics Drill or the Advanced Arm Mechanics Drill.
The only difference between these drills is that the Advanced has the athlete driving their arms while standing while the Beginner has the athlete driving their arms while kneeling. The reason it sometimes make sense to have your athlete start with the ‘Beginner’ drill is because, young athletes especially, will rotate their body as they drive their arms. By moving them to their knees, you’ve eliminated two joints (the knees and the ankles) allowing the athlete to better focus on what they are trying to accomplish – learning proper arm mechanics.
Let’s take a look at both the Beginner Arm Mechanics Drill and the Advanced Arm Mechanics Drill-
‘Beginner’ Arm Mechanics Drill
Video is property of SportStrength and is used with permission.
Steps
- Have your athlete move to a kneeling position with their knees about hip-width apart, chest up, and a tall back.
- Instruct them to bring one arm forward and make a 90-degree angle at the elbow and keep the other arm back with a 90-degree angle in that elbow.
- Say ‘Switch’ or ‘Go’ and have your athlete move the back arm to the front position while moving the front arm to the back position.
Note: They should try to maintain this 90-degree angle at the elbows as they drive their arms.
Sets, Reps, Rest: Once they drive the left arm forward and the right arm forward, that’s one rep. I’ll usually have athletes complete 2-3 sets of 5 reps with a :15-:30 second break between sets.
Common Mistakes:
- Mistake #1: Chopping at the elbows
- Coaching Cue: ‘Move your arms at the shoulders’
- Mistake #2: Crossing the body with the arms
- Coaching Cue: ‘Move your arms front-to-back’
- Mistake #3: Creating fists with the hands (punching the air)
- Coaching Cue: ‘Open up your hands’
- Mistake #4: Rotating at the hips
- Coaching Cue: ‘Don’t rotate as you drive your arms’
‘Advanced’ Arm Mechanics Drill
Video is property of SportStrength and is used with permission.
Steps
- Have your athlete move into an athletic stance.
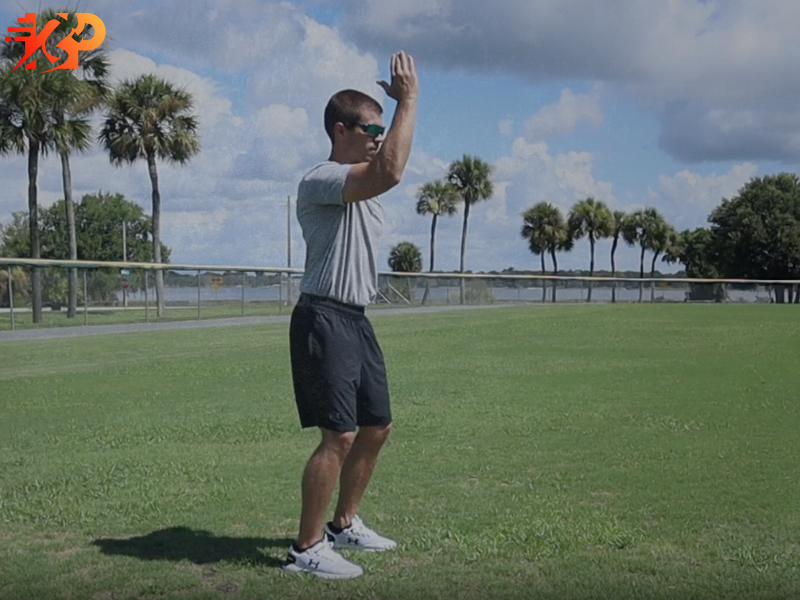
- Instruct them to bring one arm forward with a 90-degree angle at the elbow and move the other arm back with a 90-degree angle in that elbow.
- Say ‘Switch’ or ‘Go’ and have your athlete bring the back arm to the front position while moving the front arm to the back position.
Note: They should try to maintain this 90-degree angle at the elbows as they drive their arms.
Sets, Reps, Rest: Once they drive the left arm forward and the right arm forward, that’s one rep. I’ll usually have athletes complete 2-3 sets of 5 reps with a :15-:30 second break between sets.
Common Mistakes
- Mistake #1: Chopping at the elbows
- Coaching Cue: ‘Move your arms at the shoulders’
- Mistake #2: Crossing the body with the arms
- Coaching Cue: ‘Move your arms front-to-back’
- Mistake #3: Creating fists with the hands (punching the air)
- Coaching Cue: ‘Open up your hands’
- Mistake #4: Rotating at the hips
- Coaching Cue: ‘Don’t rotate as you drive your arms’
Arm Mechanics is something that needs to be practiced. However, once your athlete understands proper arm mechanics, it will become second nature.
If you’re in the Tulsa, Oklahoma area and would like me to help you increase your athlete’s speed, then come check out a Speed & Agility Class for FREE! Click here to sign up.
Resources to help your athlete run faster


